Pages

Showing posts with label Altered. Show all posts

Friday, October 10, 2014

Whimsical Steampunk Pumpkin

Happy Funday!

Say hello to my little friend...Jack!


Today's project started out as a clearance item from last Halloween. Primitive pumpkin in a sickly yellow-green color. (it's not your screen...) Add a few fabulous metallic G&P Embossing Enamel Powders over the fun steampunk inspired Accents and ta-da!


A new and improved Jack! Want to make your own? See the clickable supplies below!


Make some time to craft this weekend!


Piccolo A164 Gentlemen Accents Piccolo LC101 1-2-3 Keys Accents Piccolo MA100 Steampunk Mini Gears Accents Piccolo MA101 Steampunk Wind Up Keys AccentsSmall Flourishes A142 Mini Keys 1.5" Charms C117 Enamel Powder Adhesive Fluid Enamel Powder COPPER KETTLE Enamel Powder MICRO BLACK Enamel Powder VINTAGE COPPER Enamel Powder VINTAGE GOLD Enamel Powder ENCHANTED AUBERGINE

Friday, October 3, 2014

Art Journal of Peculiar Events

Welcome to the first Friday of October!


Today I have another Halloween creation to share - this time an altered journal! Simple color scheme, themed Piccolo Accents and a bit of bling and patterned paper make this a quick project. See the bottom of this post for the supplies!


Love how easy it is to shape the Bling on a Roll to my project...and, of course, the sparkle...


 That shiny, glittery shape is a ghost!


What a great Halloween tree, right?! See the 'staining' on the Accents? Coat the shapes with Glastique and when it's almost dry, use a foam blender and Distress Ink over the piece. The areas that are not quite dry will absorb the ink! 

Make time to craft this weekend!


Small Traditional Oval Bubble Frame Kit TOSM  Bling on a Roll - Silver  Haunted Graveyard Accents A109   Glastique GLOSS Finishing Glaze 2 oz.  Enamel Powder ENCHANTED AUBERGINE  Enamel Powder MICRO BLACK Enamel Powder Adhesive Fluid Pure Sparkle SILVER GlitterDistress Ink Pad VINTAGE PHOTO

Friday, September 26, 2014

Halloween Pumpkins Altered Frame

Today I have a fun Halloween altered frame project. Need a bit of fall decor? This cute frame comes together in less than an hour...including dry time!


To make this frame, you'll need a few items from the G&P store:
Embossing Enamel Powder: Mossy Glen
Tim Holtz Distress Ink: Mustard Seed

Other supplies:
misc. frame (this would be so cool in a Bubble Frame, too! Tune in next week - I actually use one!)
scrap of patterned paper
scrap of fuzzy fibers

Your first step: color the Accent pieces with the 3D gels. *Let dry.

*To add texture to the 'enameled' pieces: let dry until the pieces are tacky. Using a scrap piece of paper, gently dab the semi-wet surface, pulling off small amounts of the gel. Repeat until you like the texture. Let dry.

Using your finger (or a paintbrush) apply the Satin Gold 3D Gel to the raised parts of the frame. LOVE this subtle gilded look!


These carved pumpkins have hilarious faces! They would be even funnier with googley eyes!

When the frame and all of the pieces are dry, lay the house on the scrap piece, trace under the house. Ink up the area and emboss with Mossy Glen. 


Using a foam blender, add the moon using Mustard Seed. Attach all of the Accents and fiber using the Glastique.

That's it! 

Is it too early to start on Christmas cards?

Inky hugs,
Angi

Friday, August 22, 2014

Beautiful Ride Altered Paint Brush


Have you seen the newest Globecraft & Piccolo release? Fun summer designs, gorgeous labels and flourishes! Today I'm sharing a few of the Accents from the Amusement Park Rides set on an altered paintbrush.

Here's what you'll need from the G&P shop:
3D Enamel Gels: Daffodil Pearl, Orange, Rose Pearl, Titanium White, Turquoise
Embossing Enamels: Aged White, Mermaid Tears
Glastique, Gloss

Other Supplies:
paintbrush
white gesso
white modeling paste
small alphabet stamps
glue gun
flowers
scraps of fabric, twine or ribbon

My local art store had chip brushes on sale and I stocked up - just for an occasion such as this! You could also use an old brush, too. The older the paint, the more character, right?

Paint the handle with a couple of coats of gesso. You don't have to worry about being neat. Just get it done!


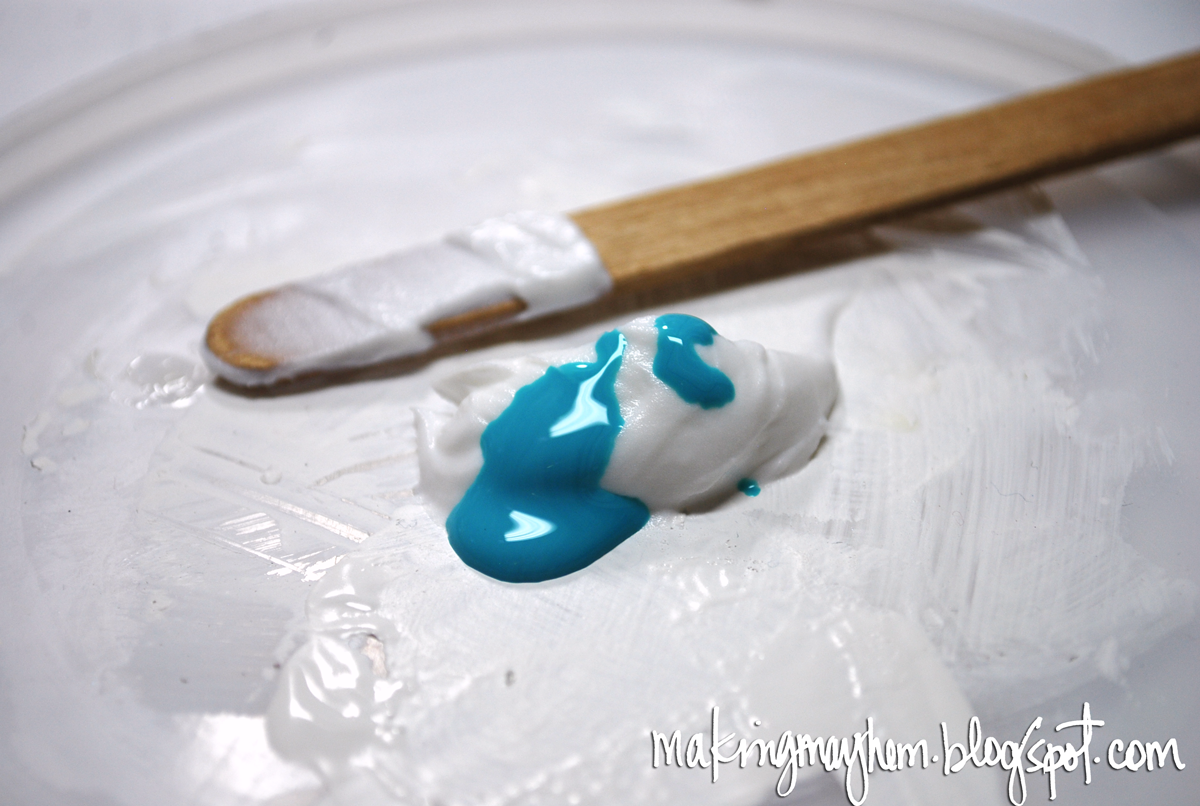
Next, I mixed a bit of the Turquoise 3D Enamel Gel with some modeling paste. Dab it on randomly, creating colored textured. Let dry.


Using the 3D Enamel Gels, add more color to the handle. (I used a foam brush and a cotton swab.) Let dry between colors. (Layer away! The gels are translucent, so overlapping the colors is highly recommended!)

Use the gels to 'color' the Accents. After they are dry, coat with a layer of Glastique.

While you wait for the Accents to dry, melt the Embossing Enamels here and there over the handle and the brush bristles.


For ease and time, I used a glue gun to attach all of the embellishments to the paintbrush.

Stamp and distress the words. Trim and adhere.


I hope you enjoyed today's project! Be sure and stop by again for more G&P inspiration!

Inky hugs,
Angi


Friday, August 8, 2014

Be-YOU-tiful Altered Block


 I love making little home decor pieces, especially when they're functional, too! Today we are using a few bits and scraps, 3D Gels, bling and fun Piccolo Accents to make this altered block.

Here's what you'll need from the G&P shop:
3D Enamel Gel Mars Black
3D Enamel Gel Rose Pearl
Bling on a Roll Silver
Vintage Dress Forms Accents A125
Glastique (Gloss or Matte)

Memento Ink Pad Tuxedo Black

Other Supplies:
wooden block
14 gauge galvanized steel wire
pliers
wire cutters
sandpaper, fine
scraps of patterned paper (My Mind's Eye - Dolled Up)
small alphabet stamps
scraps of lace


Using a nail and hammer, make a hole in the center of the top of your wooden block to fit the diameter of your wire. I used flat nose pliers to shape the wire as shown.

Using the Rose and Mars Block, paint your dressform. When dry adhere using the Glastique to a white piece of cardstock and trim when dry.

Adhere scraps of paper to the sides. Use the fine sandpaper over the edges of the paper scraps to soften them.

Stamp: be  YOU  tiful  on one side of your block as shown. Cut to fit and adhere a strip of bling to the bottom of the stamped square.

Using a bit of adhesive, glue and wrap the lace at the top of the wire (under the circle) and then wind it down, adding a little glue as needed. Adhere a small strip of bling to the top of the lace.


Add your picture and enjoy!


Have you made a project using Globecraft & Piccolo products? We would love for you to share them with us on our Facebook page!

Inky hugs,
Angi

Friday, July 11, 2014

Cock A Doodle Doo Frame

Welcome to the weekend! Today's project is a cute altered frame using the fun Cock A Doodle Doo Accent!


Here's what you'll need from the G&P shop:

Other supplies (linked items will take you to our sister store - SweetStamps.com):
small frame (thrift stores/secondhand shops are great places to find frames!)
paintbrush

Begin by squeezing a small puddle of the Adhesive Fluid. Dip your paintbrush and paint the tail feathers (don't forget to leave space for the other color!) Sprinkle on the Micro Black. Heat and let cool. Repeat using the Ruby Red Slippers for the tail feathers, the comb and wattles.

When cool, use a small sponge or cotton swab to add the red, orange and yellow inks to the rooster.


The fence has 2 layers of embossing enamel. The first layer is Brownstone. Apply it randomly, leaving small open spaces. Heat and let cool. Add the Aged White layer to fill. Use Vintage Photo to ink up the edges of the fence.


Adhere the rooster/fence and other Accents using the Glastique. Coat the small flourishes and flowers using the 3D Gel in Titanium White. Let dry.

That's it! Enjoy your upcycled mixed media frame!

Inky hugs,
Angi

Monday, June 23, 2014

Summer Lovin' Altered Phone Stand

Showcasing a favorite picture with Globecraft & Piccolo Enamel Powders and Accents is easy! Especially if you have picked up an inexpensive cell phone stand that is in desperate need of a makeover!


Here's what you'll need from the G&P Shop:

Other supplies:
EP "party mix"
("party mix" is any leftover Enamel Powder that couldn't go back into the original container because it got 'contaminated' with another color or glitter. I mix these together in my "party mix" jar.)
cell phone stand
Tim Holtz hinge clip

Not a lot of steps for this project. Trim and adhere your patterned paper to the stand. Make sure to smooth out any wrinkles. Squeeze a tiny amount of Glastique onto a plastic lid, add a tiny bit of water and cover the paper. Let dry.


Working on one area at a time, use the Enamel Adhesive on the crown. Sprinkle on your EP "party mix" and melt. Add more layers of "party mix" while still warm. (Remember - if your phone stand is metal it will get HOT as you heat it.) The crown has 3 layers of "party mix."

While still warm, sprinkle Mermaid Tears over the crown. Heat and then let cool.

Do the same for the bottom lip of the stand.


When the stand is cool, adhere accents and bling using Glastique. Adhere hinge clip using E600.


That's it! Add a favorite photo and display!

Inky hugs,
Angi

Monday, May 26, 2014

Stellar Dressform Altered Pocket Notebook

Happy Monday!

Today I have a "Stellar" project to share with you. I am a list maker and always in need of another cute notebook to write the funny things my kids say, project ideas, my to-do list, etc. With a few Accents and some Embossing Enamel, you can have a fun notepad, too!


Here's what you'll need from the shop:

Globecraft & Piccolo supplies:
Vintage Dressforms Accents (A125) - dressform & large flourish

other supplies:
pocket notepad (3"x5")
word sticker (American Crafts)
ribbon, black
tulle, bits of white
script text patterned paper (Bo Bunny)

This is the before shot of the notepad. I love the black and white color scheme. The zebra pattern...not so much. Carefully bend both of the end wires, so you can 'unscrew' the coil from the paper. Hang onto the coil, if you want to use it again.


Trace the cover onto the back of your patterned paper. (I traced the holes and used the small hole on the Crop-a-dile to punch through the paper.) Randomly sprinkle Poodle Skirt and heat. Let cool.


Using the Enamel Powder Adhesive, 'ink' up your dressform and both flourishes. Sprinkle on Micro Black. Heat and repeat at least one more time. (I dipped and heated 3 times.)


Time to put it all together! Twist the coil back into place. Using Glastique, adhere all of the Accents. Adhere ribbon and tulle. Apply word sticker. Done!

These are so quick to make. I have a few more teacher gifts to make and you can be sure these notebooks will be included!

Inky hugs,
Angi