Pages

Thursday, May 22, 2014

An Offbeat Bride --- the finished bouquet.


Teresa here again. 

The off beat bouquet is finished. 

I would carry this for my wedding. 

My daughter has been seen handling it as well. 


I am so proud of how this turned out. 

I took it to work this morning so I could take pictures in the sun at lunch.

Even the men in my warehouse area were impressed - this is a good thing. 

The Shopping list for each component is on the component posts. 

Part one is HERE

Part two is HERE

Part three is HERE

Part four is HERE

The shopping list for today is and easy one too

GLASTIQUE MATTE - used as an adhesive. 

Various other items as follows.
White synthetic fabric and or lace. 
Circular patterns.
pen or pencil 
Scissors
Candle
vintage and/or new buttons
fine gauge wire
glitter
white floral tape
satin ribbon

Here we go


Using highly sophisticated tools (I used jar lids) mark fabric circles of three sizes. Cut these out - note - this is very forgiving, so do not be too worried about them being perfect.


After cutting the circles, hold carefully over a flame to melt and curl the edges. I love this step - I use a scented candle and keep a wet towel close by. Here is a great link for the process to make these --


After melting all the pieces - I used lace and two layers of sheer sparkled white - stack them and sew them together in the center. 


Use an awl or a nail to make a hole in the center of these. 

Now the real fun begins. 


I chose an assortment of vintage buttons to add color pops to the bouquet. 

My process was to lay my Piccolo component on my table and pick various buttons to coordinate with each shape. 


Here is the dragonfly with his button assortment.


I then took a silk hydrangea stem in all white and snipped the petals off the stems. 

I used a quick brush of the glastique with a sprinkle of extra fine glitter on some.


the fine gauge wire and wired through the buttons added a circle of glastique around the hole in the center of the petal and threaded the wire through. Pull the buttons snug against the petal center and hang upside down overnight to dry. 


Each of the Piccolo shapes was added to the stacked fabric flower assemblies using the same assembly method.


I hung my assemblies from the dining room light fixture. 


Using white floral tape, wrap each stem to cover the bare wire. 


After all of the wires are wrapped, start the assembly process, I clustered three or four button assemblies around the larger Piccolo component. I tried to keep in mind the adjoining components so that my buttons coordinated. 

I also varied the depth of the button flowers so that some are in full view
 and some give just a peek of color and filler. 

 After making all the clusters, I started wiring the clusters together.

This is where I fluffed and moved and twisted things - over and over until I was happy with the arrangement. 

The picture above shows the handle area after that was done. 

I then took another long piece of the wire and wrapped the entire stem for extra security. 


I wrapped and glued satin ribbon around the handle of the bouquet for a finish. 

Then tied ribbon and a long strip of lace tucked in under the assembly and let that flow down from the bouquet. 

Here are some closeups of the finished bouquet.


The dragonfly. 


I love the blue and yellow stacked flower


An openwork rose and butterfly. 


The cross.


The darker butterfly


And the birds. 

This made up beautifully and with all the selections of Piccolos that are available, and the enamels, and embossing powders, you really can customize a bouquet to fit ANY theme of wedding. 

Please visit everyday here for even more inspiring ideas. 

Life is Beautiful .


Happy Birthday Stacey

Good morning Sweet Stamp friends!

Have you had a chance to check out all the lovely new stamp sets?!
Check them out here!

The DT Sweeties have a special reason for today's post!!
It's the owner Stacey's Birthday!!!

We'd like to thank you for everything and wish you a VERY 
HAPPY BIRTHDAY!!!


Have a lovely day!


Wednesday, May 21, 2014

Queen Bee Tag


  Happy Wednesday everyone! leslierahye here to share with you a steampunk tag that I created that could be added to a gift or scrapbook page or card! Piccolo powders come in a variety of "metals" which makes creating steampunk crafts super easy!


I stamped my tag with a chickenwire background stamp and embossed with MicroWhite. I then rubbed chalk ink over the cooled embossing and buffed with a dry cloth...the Micro White gives a resist appearance on the tag. Next I added a torn piece of patterned paper and added more distress inking. I heat embossed elements from the Steampunk Airship Accents set with Victorian Bronze. One of the scroll elements was placed at the top of my tag. Another of the same element was trimmed and used below the wooden bee that I also embossed with Victorian Bronze--the Enamel Powder Adhesive works great on all surfaces, including wood! Smaller bits from the Steampunk Airship Accents were layered with a rhinestone from the Bling on a Roll added to form a "crown".
Pieces from the Vintage Gears--including a negative gear--were embossed with Vintage Black, Real Rust and Vintage Copper and then layered on the tag and a strip of Bling on a Roll was added to the bottom of the card!
Globecraft & Piccolo Products used
Enamel Powder MICRO WHITE
Enamel Powder REAL RUST
  I hope you enjoyed my project! Thank you for stopping by today!

Tuesday, May 20, 2014

Key Charm

Morning everyone, Today i wanted to share a little charm with you that I made 


I have used one of the Royal Key Charms and the two small keys that come with Key to my heart set and embossed them using Copper Kettle & Gilded Rose Gold, I only did a rough layer because i wanted a hammered/aged look to them. I have then used black jump rings to join them together using a 6mm jump ring at the top so it can be secured to whatever you would like to use it on :) 
This is a simple, but fun project and something i will do more of.
Happy Crafting 
x 

Challenge #170 Anything Goes + A NEW RELEASE

Hello again crafty friends. 
We've got a surprise this week - 
A NEW RELEASE!!! 
There are 2 NEW ArtsyfArtsy clear sets and FOR THE FIRST TIME EVER, NEW SweetStamps designs in clear sets - there are a dozen different designs with more to come! 
Check out the new designs here. 
We're featuring these NEW designs with this week's theme...
Anything Goes
Check out these beautiful creations from our talented DT sweeties:

 Calypso Bastian
 
Carolyn LaBille

Denise Paxton

Donna K

Erika Winterlia


Irena Kowalczyk

Irit Shalom

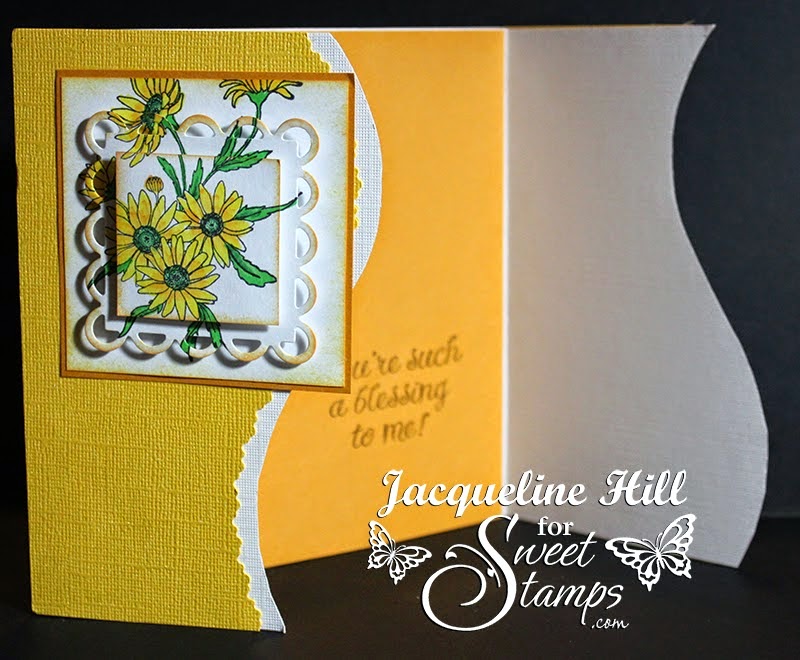
*Jacqueline Hill*

This lil Sweeties image was drawn by Jackie, and we'll be coming out with more lil Sweeties clear stamp sets soon!

*Kendra Sand*

Lisa Lahiff

Monica Edwards

Roxie Glaza


We'd love to see what you've created (cards, scrapbook pages, mixed media, ATCs, etc.), so come and join the fun! You could win a $20 shopping spree for goodies at SweetStamps.com's online store by playing along in our challenge! Click here for our complete Challenge Rules.

 * * * * * * * * * * * * * * * * * *
Our Monthly Technique Challenge is Dryer Sheet Flowers and runs through June 14th. Come join us and check out what our DT Sweeties made! View ALL the monthly challenges here.


***Don't forget to check back later this week for more inspiration from our monthly Guest Designers!***


You may have noticed some "new" items on some of our DT's creations from Globecraft & Piccolo {a division of SweetStamps.com}. Click here to jump to the G&P blog to check out some of the G&P DT posts, they are a great addition to any crafting project!

Next week our theme is NO DESIGNER PAPER. 
Happy Stamping! 
Have a super sweet week!