

Happy Thanksgiving week! We'd like you to meet Laura Drahozal, a new addition to our G&P Design Team. She's crafted this colorful holiday banner she intends to use year-after-year. Read on for instructions on how to make your own. Then hop on over to her blog to see even more G&P crafty goodness!

Here is the materials list:
- Globecraft & Piccolo 3D Enamel Gel in Napthol Red
- Globecraft & Piccolo 3D Enamel Gel in Dark Green
- Globecraft & Piccolo 3D Enamel Gel in Orange
- Globecraft & Piccolo 3D Enamel Gel in Bright Yellow
- Globecraft & Piccolo 3D Enamel Gel in Yellow Ochre
- Globecraft & Piccolo 3D Enamel Gel in Burnt Umber
- Globecraft & Piccolo 3D Enamel Gel in Metallic Copper
- Globecraft & Piccolo Glastique
- Globecraft & Piccolo DIY Portrait Ornament
- Globecraft & Piccolo Vintage Copper Enamel Powder
- Globecraft & Piccolo Victorian Bronze Enamel Powder
- Globecraft & Piccolo Enamel Powder Adhesive
- Globecraft & Piccolo Acorn Bezel (5)
- Globecraft & Piccolo Maple Leaf Bezel (4)
- Chipboard (I used 2 one dollar mini books)
- DCWV Autumn Melody Mat Stack
- Manual Die Cut Machine (I used the Cuttlebug)
- Manual Die Cut Letter Set (I used Lifestyle Crafts Diesel)
- Embossing Folder (I used Tim Holtz Alterations Damask & Regal Flourishes Set)
- Adirondack Metallics Acrylic Paint Dabber in Gold
- Craft Knife
- Pencil
- Heat Gun
- Self Healing Cutting Mat
- Craft Essentials Craft Mat
- We R Memory Keepers Big Bite
- Jewelry Chain and matching jump rings
- Ribbon
- One piece of acetate slightly larger than the leaf bezels
- Medium sized binder clips (3-4)
Directions:
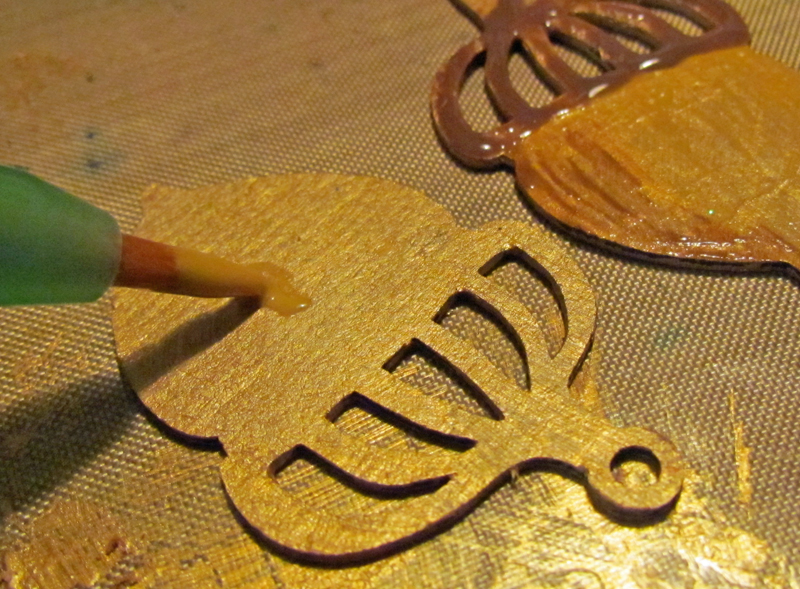
1) Paint acorns, three leaves and two ornament frames with metallic gold dabber. Let dry.
2) Run leaves and ornament frame through the manual die cut machine with the embossing folder.
3) For each textured leaf: place fall colors of 3D Enamel Gel in strips down one side of the textured leaves.


8) Use Burnt Umber from the bottle on acorn cap. Let dry.

9) Use pencil to draw vein lines on remaining leaf bezel.
10) Use self healing mat and craft knife to cut out wells from leaf. You will need to make several passes to cut through the bookboard, but it is so strong that it will tolerate having fairly small remaining areas after the cutting.

11) Use Enamel Powder Adhesive and Vintage Copper Enamel to heat emboss leaf.
12) Use Glastique to attach leaf to acetate. Let dry.
13) Squeeze Enamel Gel in fall colors into the wells you have created. Place the colors right next to each other in each well.


14) Use straight pin to swirl the colors together. Let dry.

15) Trim excess acetate with craft knife.
16) Add Burnt Umber to ornament frame. Spread with finger and let dry.


17) Assemble ornament with leaf inside. Use jump rings to attach leaf and Glastique as glue. Don't forget to use binder clips to hold while Glastique sets up.

18) Use manual die cut machine and alphabet dies to cut out your message.
19) Attach paper from mat stack to chipboard with Glastique and let dry. Trim excess paper.
20) Use Enamel Powder Adhesive and Victorian Bronze Powder around edges of pennants. Heat set.
21) Attach letters to pieces and let dry.
22) Use Copper 3D Enamel Gel to outline letters. Let dry.
23) Use Big Bite to create holes in pennants and ornament.
24) Attach sections of chain with jump rings to create banner.
25) Attach ribbons.
26) Use jump rings to attach bezels.

This banner was enjoyable to create with all of these great Globecraft products! I consider it my "mantle jewelry" and am planning on using it year-after-year. Part of my love of Globecraft is my current obsession with the 3D Enamel Gels, and I tried to use it in every way I could think of.....for now.
Jump on over to my blog www.rememberinglifesmoments.blogspot.com to see another Thanksgiving project using enamels and some of these fantastic leaf bezels. I hope you stop by for a visit, and I look forward to representing Globecraft for the next several months!

4 comments:
Oh wow, LOVE it! Just gorgeous.
Really beautiful banner. Love that filigree leaf! The gels look wonderful in that - colors are very pretty.
I'm super impressed by the use of the enamels in the negative spaces!!
Wow! I love how you used the enamels. This banner is gorgeous!
Post a Comment