Pages

Showing posts with label Laura Drahozal. Show all posts

Tuesday, July 23, 2013

A Turtle Pendant--Metals and Enamel Gels


It's Laura here.  Today, I am sharing a turtle pendant with you.  It features Globecraft 3D Enamel Gels and Instant UV Resin.  Let me explain how it is done.

Materials:
Globecraft Acrylic Tag Bezels
Globecraft 3D Enamel Gels in Ultramarine Blue
Globecraft 3D Enamel Gels in Deep Blue Sky
Globecraft 3D Enamel Gels in Blue Green
Globecraft 3D Enamel Gels in Dark Green
Globecraft 3D Enamel Gels in Avocado
Piccolo Instant UV Resin
Piccolo Easy Grip Tweezers
Manicurist UV Light or Direct Sunlight
Large Round Earring
Metal Turtle Chain Link
Bail
Chain
Sharpie
Wire Cutters
Craft Knife
Sandpaper
Pin
Paper Towel

Directions:


 1)  Remove the earring finding from the hoop.


 2)  Chose the bezel that is at least as large and closest in size to your metal piece.


3)  Use a Sharpie to trace around the metal.


4)  Cut on or just inside the Sharpie line.  You will either need patience (which I have none) or scissors (fortunately, I have these) to remove the excess acrylic.


5)  Rub and rotate the edges of the acrylic on the sandpaper.  You are trying to make the acrylic the same size or slightly smaller than the metal.

6)  Remove the blue plastic, wipe and set aside.


6)  Use the wire cutters to remove the "eye" ends from the turtle.


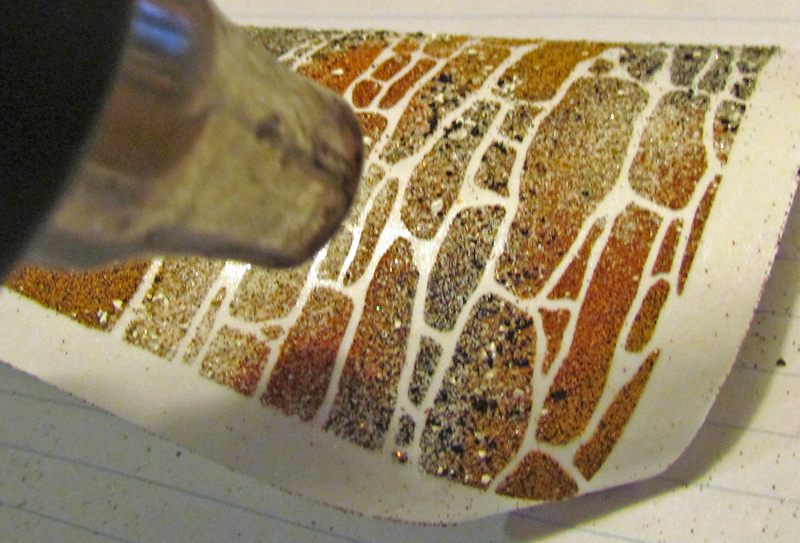
7)  Squeeze the blue Enamel gels onto the acrylic.  You may wish to make the trails "swirly."


 8)  Use a pin to swirl the colors together.


9)  While the enamel is still wet, place the metal on the acrylic and set aside.


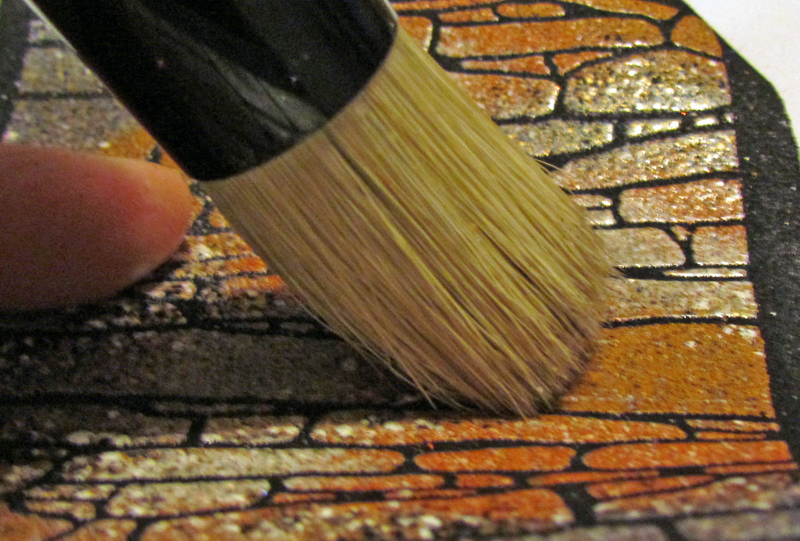
10)  Squeeze the Dark Green Enamel Gel over the turtle.


11)  Use a little paper towel to gently rub off some of the Enamel Gel.


12)  Squeeze some of the Avocado over parts of the turtle and blend a little with the pin.


13)  Use the tweezers to place the turtle onto the project while the blue gel is still wet.


14)  Let dry completely.


15)  Squeeze Instant UV Resin over the project and cure under UV Light or in the sun.

16)  Repeat step 15 a few times, alternating between the front and back of the project until you are satisfied.  I used two coats on each side.


17)  Use the bail to attach the project to the chain and wear!


Thanks for stopping by today.  Come check out my blog at www.rememberinglifesmoments.blogspot.com any time!

Laura Drahozal
Remembering Life's Moments

Sunday, July 21, 2013

A UV Resin tip


Hello, it's Laura and recently, I sent a project to Pat, the owner of Globecraft & Piccolo. I was pretty happy with it.

Then, I got a call from Pat. There was a bow in the project. You can see it here, because I have used the arrow to point out the raised section.


Here is another view:


Anyway, Pat knew immediately what was wrong! I had not applied the UV Resin evenly on both sides. I had only one coat on the back, and two on the front. That caused the resin on the front to pull everything forward? The fix? I can put another layer of resin on the back of the project.

Laura Drahozal
Remembering Life's Moments
So, my tip of the day: ALWAYS coat the resin evenly. Put a layer on one side and then the other until you have as many as you like, but make SURE that you have the same number of coats on both sides.

Tuesday, July 9, 2013

Crafting a Mortal Instruments: City of Bones Angelic Powers rune pendant


Hello, it is Laura. Today, I am presenting a very unique pendant to you. The character depicts a special marking from a movie "City of Bones," which comes out in August. I have read the book and am really excited for the movie. This tutorial is going to show you how to make a pendant using whatever image excites you!

Laura Drahozal
Remembering Life's Moments
Materials:
Globecraft Assorted Acrylic Tag Bezels
Globecraft Fine Line Applicator Tip
Globecraft 3D Enamel Gel in Mars Black
Globecraft 3D Enamel Gel in Metallic Silver
Globecraft 3D Enamel Gel in Ultramarine Blue
Globecraft 3D Enamel Gel in Blue Green
Globecraft 3D Enamel Gel in Deep Blue Sky
Globecraft 3D Enamel Gel in Satin Blue Pearl
Piccolo Instant UV Resin
Globecraft Black Satin Like Necklace
Globecraft Silver Bail
Image you would like to make pendant from
Fine Tipped Sharpie Marker
Art Glitter Microfine Opaque in 507 Black Wing
Stencil Brush
Rubber Stamp (I used one from Stampendous)
Paint Brush
Q Tip or Wooden Skewer
Ranger Memory Foil Tape
Scissors
Craft Knife
Something to remove sticky stuff (I use the Quickutz or Silhouette Pick Up Stick)
UV Manicurist Light or Direct Sunlight

Directions:
1) Use the plastic from around the Acrylic Tag Bezels to determine which shape to use and how to center it.


2) Replace the shape, remove the upper layer of blue protective film, and trace image with Sharpie.


3) Using the fine line applicator tip, fill in the image with Mars Black 3D Enamel Gel. Let dry.


As you can see from the picture below, my image is not perfectly traced and the gels are transparent.


4) Remove the protective blue film from the other side and flip plastic over. Fill the image the same way that you did the other side. Do not let it dry yet.


5) While the gel is still wet, pour the opaque black glitter over it. Let dry completely.


6) Use the stencil brush to brush off all of the excess glitter. The glitter side will always be referred to as the top of the image from now on.

7) Brush the silver Enamel Gel onto the stamp.


8) Press the back of the pendant (glitter free) onto the stamp. You are not looking for a perfect image here, just a little texture. Let dry completely.


9) Squeeze the various blue colored Enamel Gels directly over the dried silver portion. You will be creating blobs of color. You do not need to fill the back entirely, but you should get close.


10) Use the end of a Q Tip (remove the cotton first) or a wooden skewer to swirl the colors across the back. Let dry completely.


11) Wrap the Memory Foil around the exterior of the shape. Try to center the edge of the shape, and be sure to overlap the foil just a little.


12) Press down with your fingers and then use a hard object to burnish it flat. I used the cap for my Cutterbee Scissors.


13) If you have uneven or too much foil on your project, you can use a craft knife to trim it off.


14) Be sure to remove any sticky bits with whatever tool you prefer. I am using a Pick Up Stick here.


15) Squeeze the Piccolo Instant UV Resin directly onto the project. I use the tip to move it around a little and fill in any missing spaces. You will need at least one coat on the front and the back. You need to cure it under a UV light or in sunlight for 3 minutes between each coat. I used three coats on each side.


16) Cure the resin.


17) Add the bail and necklace and you are finished!

My project glows a little when held up to the light because of the transparency of the gels.


This is what the back looks like. The glitter you see here is proof positive that I have too much glitter on my work space! That is okay, I like to sparkle!


This is what it looks like finished.


Thanks for stopping by today. I hope I have given you some inspiration to make jewelry of something that you are excited about! Stop by my blog anytime at www.rememberinglifesmoments.blogspot.com.

Tuesday, June 25, 2013

Embossing Powder Stones

Hello, it is Laura here with another way to use Globecraft Embossing Powders to create some background (haha) elements for your scrapbooking pages.  I love the color choices available.  The technique I used today is one I learned over at Dreamweaver Stencils, where they call it the Double Glitter Technique.....but, no glitter used here today.  Let me explain....


Materials:
Piccolo Embossing Powder in Real Rust
Piccolo Embossing Powder in Temple Stone
Piccolo Embossing Powder in Brownstone
Piccolo Embossing Powder in Mermaid Tears
Crafting Heat Gun
Piccolo Embossing Powder in Micro Black
Piccolo Embossing Powder in Cranberry Wine
Piccolo Embossing Powder in Girls' Night Out
Piccolo Embossing Powder in Siam Silver
Piccolo Embossing Powder in Vintage Silver
Piccolo Enamel/Embossing Powder Adhesive
Piccolo Easy Grip Tweezers
Dreamweaver Stencil LG 611 Stone Wall
Dreamweaver Stencil LL 394 Feathers
Dreamweaver Double Stick Mounting Paper
Handmade Hawaiian Soap (from Dreamweaver) or some other natural, soft, bar soap
Large Stencil Brush
Small Paint Brush
Paper House Papers from the Country Stack
Scotch Adhesive Tape
Art Glitter Designer Dries Clear Adhesive
Die Cut Cardstock Letters (I used the old Quickutz Chandelier Letters)
Non Stick Craft Sheet

Directions:
1)  Rub the bar of soap on the back of the Stone Wall stencil.  It will create a cloudy sheen over the metal, as seen in the picture below.
2)  Notice the little bits of soap that are left behind on the stencil.
Use the stencil brush to carefully brush off these soap bits.
3)  Remove the backing from one side of the Double Sided Mounting Paper by "snapping" it open.
4)  Place the metal on the exposed adhesive surface SOAP SIDE DOWN.
5)  Pour the embossing powder over the sections that you would like to be that color.  You do not need to use a lot.  I used Real Rust, Temple Stone, Mermaid Tear, and Brownstone.

6)  Press lightly with your fingers and blend powders into any areas that need additional coverage.


7)  Flip the project over and carefully peel the adhesive paper off of the stencil.  Be sure to leave the stencil flat on a hard surface as you remove the paper.
8)  Use heat gun to emboss the powders.

9)  After the embossing powder cools, pour Micro Black over the project and rub in with your finger.

10)  Use the stencil brush to brush off any excess powder.  This is also a great way to distress the black a little if you brush aggressively.
11)  Heat set. 
12)  Repeat steps 1-11, as you will need two to create a frame.

13)  The technique for the feathers is almost identical to steps on through 11.  The powders used are Siam Silver, Cranberry Wine (on the edges of the feathers) Girls' Night Out and Micro Black.  The pinks are placed into position by using the outer one (light pink) first and pushing into place.
14)  Before adding the Miro Black, be sure to trim off most of the extra (rough cut) with scissors.  This will save you some of the powders.

15)  Heat set and trim closer to the image.
16)  For the letters, simply apply the Embossing Adhesive directly with the dauber on the bottle.
17)  Cover with the Vintage Silver Embossing Enamel.
18)  Heat set on craft sheet.  Use the tweezers to hold the card stock steady as you heat.
18)  Repeat steps 15-17, so that you have two layers of embossing powder.
19)  To apply the letters, use Designer Dries Clear Glue.
20)  Create the silver edge by using a paint brush to apply the Embossing/Enamel Adhesive, cover with silver and heat set.
21)  To create the frame, first cut the size you want the frame to be and adhere the picture inside.
22)  Cutting around the "stones" whenever possible, cut the images to fit your photograph.  Save the extra to use around the page.
23)  Remove the backing paper and adhere to the photo and mat.
24)  Trim around the outside of the frame, making a "rocky" edge if possible.

Here is another look at the finished product.

That about covers it! Thanks for checking out my post.  If you want to come visit me, my blog is www.rememberlifesmoments.com.  I would love to see you there!