Pages

Showing posts with label Bubble background. Show all posts

Wednesday, June 18, 2014

A Jazzy Note for You!


  Happy Wednesday everyone! leslierahye here sharing a "note" card to send to your friend to "jazz" up their day! I love the way emboss powders make simple card stock look like rich metal! I stamped my background notes using the Enamel Powder adhesive with Micro White powder on Kraft card stock. I then layered on colors of chalk to get the colored background. Next I tore the edges and curled them a bit and added more adhesive to dip the edges in my favorite Victorian Bronze!
I die cut 2 alto saxophones...I used one as a template for applying the shadow and highlight with chalk on the center of my card. I "double dipped" the embossing on the 2nd one. First I applied the adhesive, sprinkled Victorian Bronze and then heat set. Next I applied another layer of adhesive, sprinkled with Gilded Rose and heat set. Finally I embossed an ATC Bubble Background with Victorian Bronze and trimmed apart sections to float around my Saxophone.
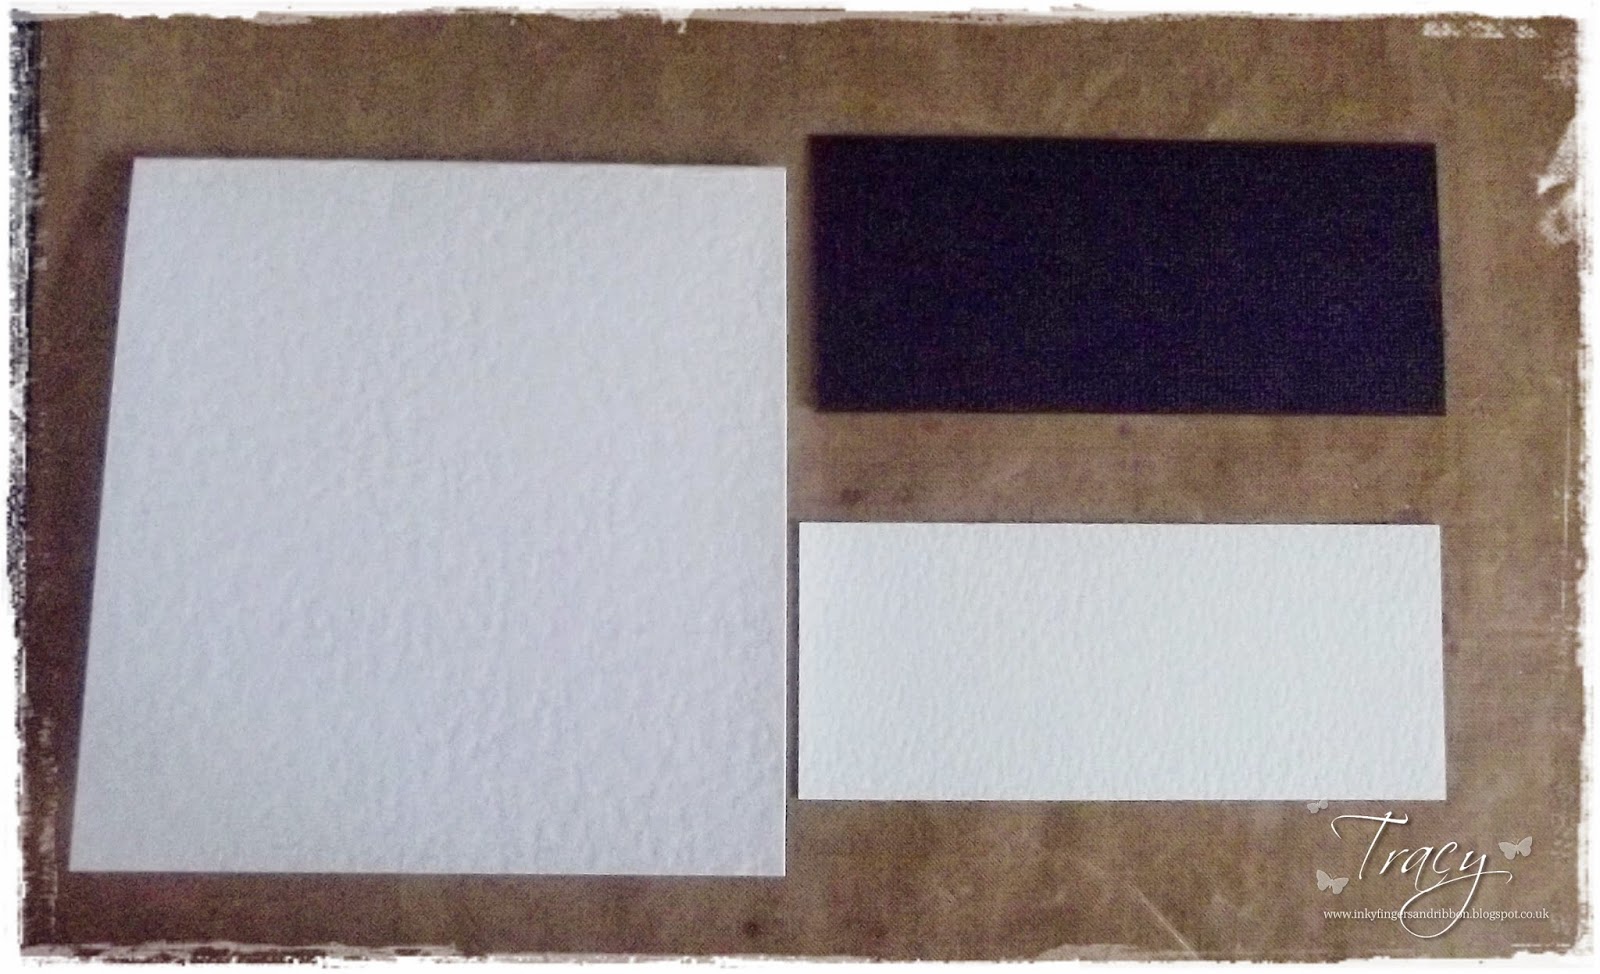
I mounted this on a piece of black card stock to enhance my metal embossing...the inside of the note will have a slip of white paper to make writing with normal utensils easier! 

  I hope you enjoyed my project! Thank you for stopping by today!

Saturday, May 31, 2014

A Bubble Background ATC


I love making ATC’s.  Not only are these trading card sized beauties fun to trade with other artists, but I use them on cards as well.  It makes it simple to make a card quickly when you already have the focal point done.


In making this ATC for Globecraft & Piccolo I used the following products:
Embossing Enamel in Mermaid Tears & Royal Sterling
ATC Bubble Background,LB101 (keep the pop out pieces!)
Distress Paint & Distress Marker in Seedless Preserves
Purple Pre-Made ATC card
Ranger Archival Ink in Jet Black
Tim Holtz Simple Sayings Stamp Set, CMS155
Scrap Piece of Complimentary Color Paper

First, I covered the ATC Bubble Background with Embossing Fluid and embossed it with Mermaid Tears. 
Embossed and Raw ATC Bubble Background

Close up, embossed w/ Mermaids Tears
I embossed the background a few times to get the coverage I wanted. Then I chose a few of the leftover pieces I had popped out of the Bubble Background and covered them in Embossing Fluid and embossed them with Royal Sterling (HINT: mark the piece on the correct side so when you emboss the piece it will fit correctly– ask me why I suggest this!).

Once everything was embossed, I fit the pop out pieces into the Bubble Frame and glued them in.  I did this by turning the Bubble Frame over and I spread some glue over the piece and the frame.  Since I knew I was going to attach this to an ATC I wasn’t too worried about the pieces falling out.  Once they dried, I just chose some areas on the Bubble Frame, dotted some glue and glued it onto the ATC card.  I also glued my ATC card to some left over cardboard to make it a bit more sturdy and then inked around the edges with the Seedless Preserves Distress Paint & filled in any gaps with the Seedless Preserves Distress Marker.

I inked my sentiment in the Jet Black ink, stamped it on a coordinating piece of scrap paper and trimmed it down.  I glued my sentiment to my ATC and I was done! Now I am all ready to pop this on a card when I want to remind someone I’m thinking of him or her.

This picture really shows the sparkle!
Thanks for stopping by! Don't forget to check out the daily posts on the Globecraft & Piccolo Blog, and my blog, Art Without Anxiety.  Hope you & yours have a GREAT week! Christi

Tuesday, April 15, 2014

Stenciled Card

Morning everyone Tracy here. 
I wanted to show you an that Piccolos have lots of uses, and one of the ones i love is that you can use them as a stencil. 
I have used ATC Bubble Background which i have to confess is my favorite Piccolo at the moment. 


I then took a 4.5 x 5 card blank , a black strip of card cut to 2 x 5 and a strip of watercolour card cut to 1.9 x 5


For the next step you need a temporary adhesive to hold your "stencil" in place, I always use Crafter's Companion Stick and Spray. 


Spray one side of your Piccolo "stencil" and position on the watercolour card. 


Pick your medium you wish to use to add colour, I swear by Dylusions, but it is totally up to you. 


Be as creative as you wish and apply your colour, I run a heat tool over the area before i remove the Piccolo, and then VERY carefully remove the Piccolo, I have found removing the paper from the Piccolo is the best way. 
And of course you now have a pretty coloured Piccolo :) 


Once fully dry rub away any excess adhesive and glue to your black strip and then adhere this to your card blank. I then rounded off the bottom two corners and added a simple sentiment. 
And here is the finished card, you could be so creative with this method. 

Items used: 
4.5x5 Card Blank 
Watercolour Card 
Black Cardstock
Dylsusions Ink Sprays 
Crafter's Companion Stick & Spray 
Sentiment Stamp. 

Happy Crafting 
x