Pages

Friday, August 22, 2014

Beautiful Ride Altered Paint Brush


Have you seen the newest Globecraft & Piccolo release? Fun summer designs, gorgeous labels and flourishes! Today I'm sharing a few of the Accents from the Amusement Park Rides set on an altered paintbrush.

Here's what you'll need from the G&P shop:
3D Enamel Gels: Daffodil Pearl, Orange, Rose Pearl, Titanium White, Turquoise
Embossing Enamels: Aged White, Mermaid Tears
Glastique, Gloss

Other Supplies:
paintbrush
white gesso
white modeling paste
small alphabet stamps
glue gun
flowers
scraps of fabric, twine or ribbon

My local art store had chip brushes on sale and I stocked up - just for an occasion such as this! You could also use an old brush, too. The older the paint, the more character, right?

Paint the handle with a couple of coats of gesso. You don't have to worry about being neat. Just get it done!


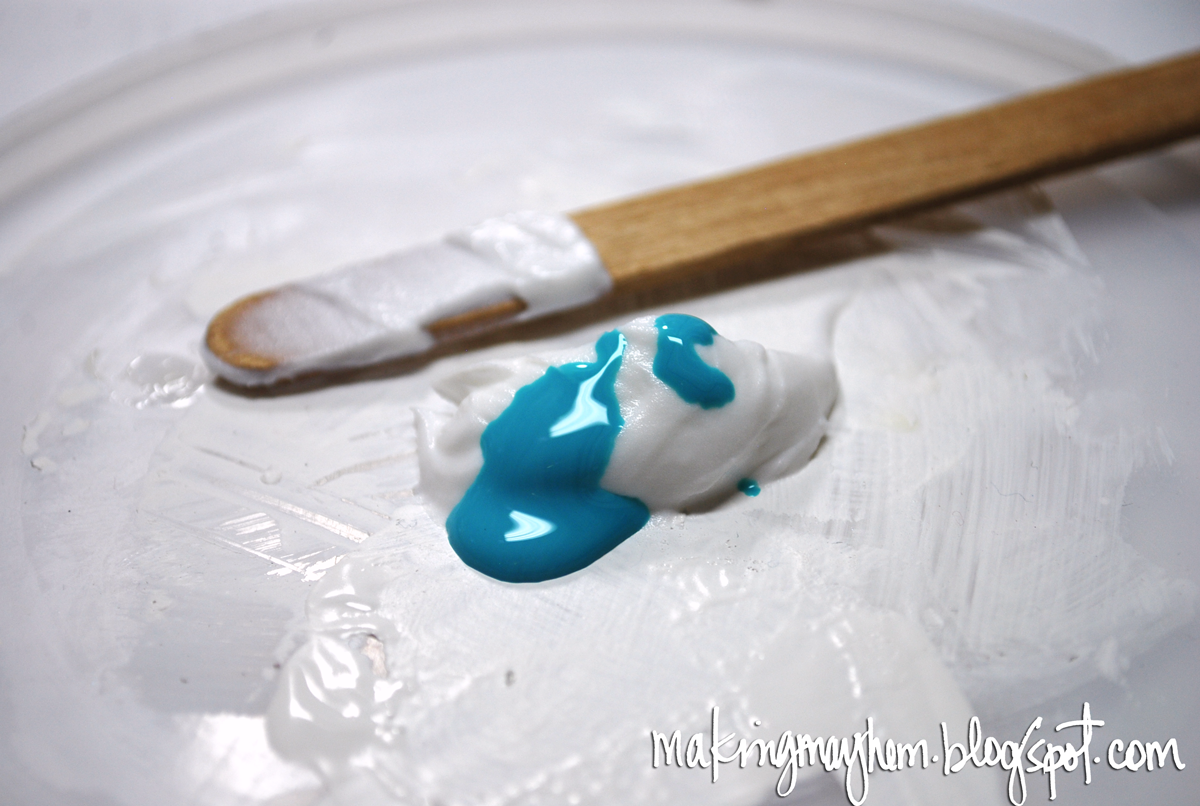
Next, I mixed a bit of the Turquoise 3D Enamel Gel with some modeling paste. Dab it on randomly, creating colored textured. Let dry.

Using the 3D Enamel Gels, add more color to the handle. (I used a foam brush and a cotton swab.) Let dry between colors. (Layer away! The gels are translucent, so overlapping the colors is highly recommended!)

Use the gels to 'color' the Accents. After they are dry, coat with a layer of Glastique.

While you wait for the Accents to dry, melt the Embossing Enamels here and there over the handle and the brush bristles.


For ease and time, I used a glue gun to attach all of the embellishments to the paintbrush.

Stamp and distress the words. Trim and adhere.


I hope you enjoyed today's project! Be sure and stop by again for more G&P inspiration!

Inky hugs,
Angi


HB2U - Smartphone fun!

Hello Sweeties!!! I hope you are enjoying our new challenge with Anything Goes, and the fabulous examples with the new goodies that the DT Sweeties have been showing so far this week!  Speaking of new goodies... I happened to play with the new Smartphone & Text Stamp Set and came up with this CAS little number...


Supplies Used:


When I saw the facebook thumbs up image I just had to make a background with it, and I LOVE it!  I was trying to capture the prettiness of the wink of stella on my pink smartphone, but it is so hard to see through a camera, grrr!!!

Can't wait to see what you create!
Happy Crafting!
Lisa

Thursday, August 21, 2014

calm ----


Happy Thursday. Teresa here again with a wonderful altered pendant. I love the way the enamels adhere to practically everything, giving us a ton of options for surface embellishing. 

Then adding the UV cure resin to seal it all gives us even more options. 


I actually made two of these - one to send to GlobeCraft and Piccolo and one that is hanging on a large lighthouse in my home.

Here is the shopping list.

real rust enamel powder
Enamel Adhesive
Instant UV Resin
Glastique Gloss 

There is full tutorial of the process for enameling the metals here and here. All it takes is time and patience for this process.

Another really great item is a toaster oven. Line the sheet with foil to protect the cooking surface and place the items under the broiler.

The Real Rust Powder is my current favorite - using the toaster oven allowed me to watch it carefully and stop the process of the melt with a lot of texture left so that the metal keeps a rust color AND texture. This powder mixes are amazing especially if you are covering a fairly large and smooth surface. This pendant has three layers of the powders on it.

While the pendant is cooling, make your accent. This one features an image from a lighthouse themed postage stamp. I took a clear glass flat backed marble (floral marble) and traced the shape on the image, then cut it out. The marble magnifies the image a bit.

I then used the Glastique to adhere the image to the marble and let it dry. Glastique is a wonderful paper adhesive. There is no wrinkling of the paper at all and it dries completely clear. Perfect for adhering images behind glass.

After the image dried, I again used the Glastique as an adhesive, attaching the image and the words (cut from a magazine article) to the pendant. I allowed all of this to cure overnight.

After everything cured overnight, coat everything but the marble with a thin layer of the Instant UV Resin and cure that in the sun or under a UV lamp. Adding the UV Resin to the pendant both seals and adds even more security to the image under the stone.

Hang your ornament with pride.

here are some more ideas for using the Glastique to mount images behind glass.
- pendant bezels
- photo frames
- magnets
- memory jars.
- Christmas Ornaments

Have a wonderful afternoon.


Smartphone and Text Card

Morning-
Calypso here today, to share a fun card that I made using Smartphone and Text
When I got my stamps I laughed so hard because, I did not know what some of these slang acronyms  were!!!  LOL...Talk about starting to show my age a little!!
I had to ask my husband if he knew and he did.

Love the image of the phone!!   This stamp set comes with tons of cool acronyms and your basic emoticons. 
I stamped a few of the various acronyms and embossed in clear embossing powder. 
Supplies used: 


Hugs, 

Wednesday, August 20, 2014

Dragonfly Thank You


My card today showcases the new Piccolo Dragonfly Accents as well as one of the new Fancy Labels.   I heat embossed my large Dragonfly's wings with Turquoise Lagoon enamel then added a light layer of Mermaid Tears enamel for some opalescence.  For the body, I used Deep Blue Sky enamel then added a good layer of Instant UV Resin for a glass-like finish.   For the smaller Dragonfly, I heat embossed just with Mermaid Tears.  I used Aged White enamel on the ATC Bubble Background


For my label, I began with Deep Blue Sky enamel and then gave it a coat of Mermaid Tears.  It is a wonderful shimmery dusky blue.  These enamels combine so beautifully.  The last step was the Thank You from Sweet Stamps.  Finished size is 4.25 x 5.5 inches.

Tuesday, August 19, 2014

Shelly- Anything Goes

The challenge at Sweet Stamps for this week is Anything Goes. I used one of the new clear stamps named Emma. I colored her with Copic markers.

  I made the shimmery flower embellishments using the Globcraft and Piccalo elements and Turquoise Lagoon Enamel Embossing Powder.

We'd love to have you join us for this week's challenge!

Thanks for stopping by!
Shelly

Challenge #183 ANYTHING GOES

Happy Tuesday crafty friends! It's time for a new weekly challenge! This week's theme is a favorite...
ANYTHING GOES
Take a look at these beauties from our DT Sweeties:


We'd love to see your creation, so come play along! {Cards, ATCs, scrapbook pages, mixed media, altered art, etc.} You could win a $20 shopping spree for goodies at SweetStamps.com's online store by playing along in our challenge! Click here for our complete Challenge Rules.

 * * * * * * * * * * * * * * * * * *
Our Monthly Technique Challenge {Double Side Step Card} runs through September 14th so come play along for your chance to win FREE stuff!

***Check back later this week for more inspiration from our DT Sweeties and Guest Designers!***

Happy Stamping! 
Have a super sweet week!

Monday, August 18, 2014

An Inspired Tag


Happy Monday everyone! leslierahye with an inspiration tag created with emboss enamels and a piece of mica along with some of the molded embellies that I created last week--it's addictive...I just kept melting and filling the molds!

I created the tag with layers of embossed backgrounds, air brushed and water stamped backgrounds. A final layer of Gilded Rose along the edges of the distressed tag and some Mermaid Tears applied Frantage Style finished the base of the tag.

Next I stamped with die ink the inspired stamp and sprinkled Micro Black on to the surface of the mica. I heat set the words and waited for my piece of mica to cool. I attached it to the tag with some copper brads. I finished the tag with some of my molded embellies and some fancy fiber string.

I hope you enjoyed my project! Thank you for stopping by today!

My garden makes everyone happy!

Hello my dear crafty friends! Today is my turn to show you my Garden creation made for our Sweet Stamps new weekly challenge. I know that its the last day to enter this challenge, but then who knows? You can do a card or another GARDEN PROJECT and even to  win!
So here is my card for today: stamped Mixed Media card made with   one of the new in SS shop Memory box stencils: Modern Blooming Frame.


I used a light green colored texture paste  with this stencil and then misted the white cardstock with blue mist to get this look of my background.


Next step was to make my stamped panel and it was stamped with Wildflowers SS stamp in black. To make it pop I added some red blings over each flower  center and some glitter glue over the petals.
Finally I stamped this lovely sentiment from the new SS Simple Sentiments set. I love this font a lot and it's  a must to have set!

And now it's your turn! Enter our weekly challenge and you can win!

Sunday, August 17, 2014

My Sweet Flower In the Garden

Good morning and a very Happy Sunday!

Hi, Denise here, for SweetStamps.com, to share with you my creation I created for this weeks challenge.

If you haven't already joined in for this weeks challenge there is still time!

You could win a $20 shopping spree for amazing goodies of your own choice at SweetStamps.com's online store by just playing along with us and have some fun and share your creation with us!

It could be from a ATC, Cards, Mixed Media, Scrapbooking Pages, etc, so come and join the fun!

SweetStamps.com is also on Facebook and Pinterest.

Why not pop over on a daily basis for some new inspiration from our 
Design Team Members!

Weekly Challenge C#182: In the Garden


Well here is my project for some inspiration for you! 
You will find more details regarding this project on my Blog.

My Sweet Flower in the garden 


These Swirls are new stamps from SweetStamps.com

The sentiment is from a ArtsyFarsty Stamp set
Pretty Frames & Silhouettes Clear Stamp Set AF4804

The lovely dies are from SweetCuts
Fancy Leaf SweetCuts Die sc006
and
Daisy Center Medallion SweetCuts Die sc052
and 
Pretty Pettals SweetCuts sc008

All the products I used for this project can be found in the SweetStamps.com online Store


 photo BlackSig_zps35208f1f.png