Good Morning all.
Teresa here with this week's project. I had a completely different one planned, then I got my package from
Globecraft and Piccolo and there was a new frame kit. I immediately dropped what I was working on and made this.
I sew and cross stitch a lot. and I am horrible about taking pins out and sticking them in my shirt or pants leg. This frame will fit right on top of the box I keep my supplies in because it folds flat, or stand it on your desk and use it as a note pad holder.
Lets Shop
- Medium Fancy Rectangle Frame Kit (note: the frame kit comes with a bubble globe cover. I chose not to use it for my creation)
-
Enamel Adhesive-
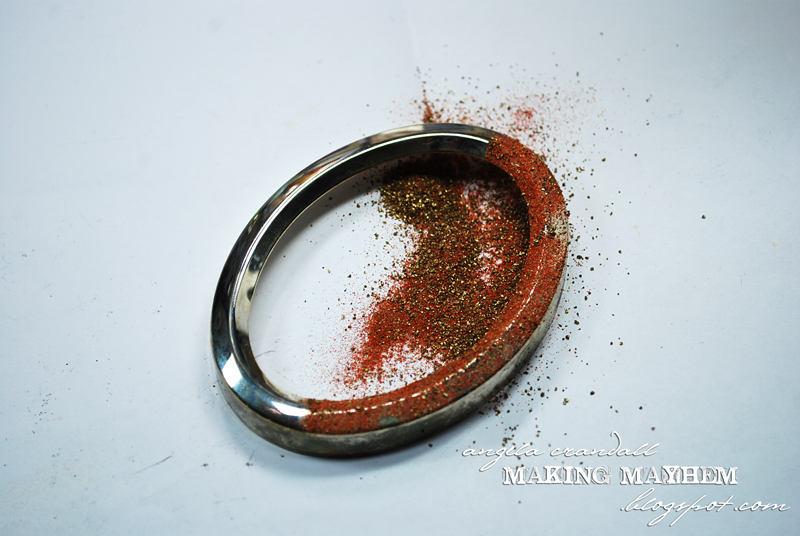
Vintage Gold Powder-
Victorian Bronze Powder - Fabric of your choice (the powders are so versatile and there are so many colors to choose from, this
pinboard will be EASY to coordinate with any decor.)
- sheet batting
- heavy duty glue (I used Aleene's MaxTack)
- scissors
- clamps
The frame kit includes a solid back. An inner mat layer. A decorative frame layer. A flat fold easel back. notice the tiny hole in the solid back piece. There is one at the top and bottom of each piece of the frame for aligning the layers.
I embossed my inner mat with Victorian Bronze Powder and the Decorative Frame layer with the Vintage Gold Powder.
Now to assemble.
Cut your fabric the same size as the solid back of the frame. Cut the batting slightly smaller than the back, but still a tiny bit larger than the mat opening. My batting was a lightweight quilt batting so I used two layers.
Lay the Inner Mat face down on the work surface. Add glue to the edges and place your fabric right side down on it. Add the batting to the stack and a generous amount of glue to the edges.
Align the frame back with the stack and flip right side up.
Now, using those alignment holes. Glue the Decorative Trim layer to the front.
Clamp carefully ALL the way around. Sealing any gaps between the layers (notice I had to get creative with my clamps, I even stole some of the ikea ones I use to display things on wires in the studio.)
Let this dry overnight.
Glue your easel back to put this at the correct angle for your use.
I love the slight contrast between the two layers of the frame.
I love this - sitting for small reminders and also for adding to my sewing box top.
A pincushion - pin board - earring holder. Lot's of uses for this one.
Have a wonderful day --- LIFE IS BEAUTIFUL.