Pages

Tuesday, March 11, 2014

Challenge #160 Lucky

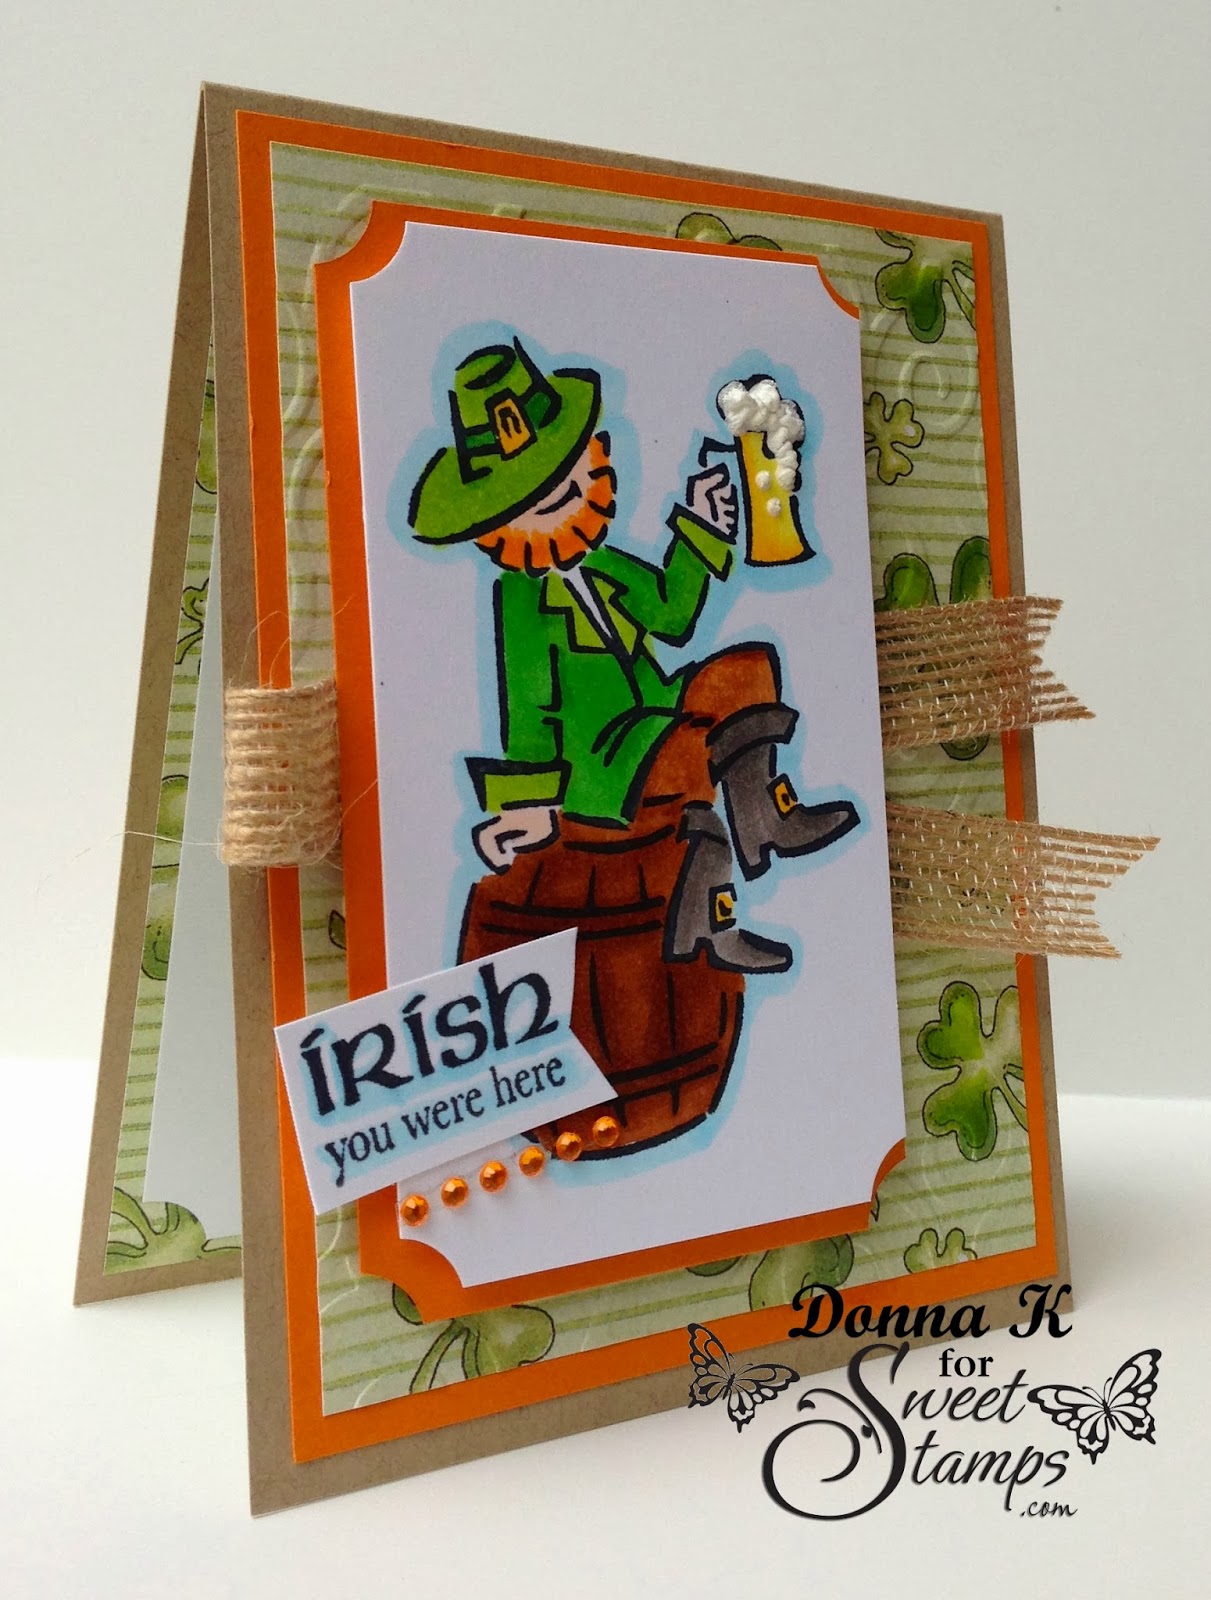
Happy Tuesday crafty friends!  St. Patty's Day is approaching fast, so "Irish" you'd join us in this week's challenge...
LUCKY
We'd love to see your lucky creation (cards, scrapbook pages, mixed media, ATCs, etc.), so come and join the fun! You could win a $20 shopping spree for goodies at SweetStamps.com's online store by playing along in our challenge! Click here for our complete Challenge Rules.
 * * * * * * * * * * * * * * * * * *
Our Monthly Technique Challenge is Fun Folds and runs through March 15th. Come join us and check out what our DT Sweeties made! View ALL the monthly challenges here.

***Don't forget to check back later this week for more inspiration from our monthly Guest Designers!***

You may have noticed some "new" items on some of our DT's creations from Globecraft & Piccolo {a division of SweetStamps.com}. Click here to jump to the G&P blog to check out some of the G&P DT posts, they are a great addition to any crafting project!

Next week our theme is ANYTHING GOES. Happy Stamping! Have a super sweet week!
 

Monday, March 10, 2014

DIY Project Life Cards - 'Washi' & Words


Hello, Friends!

Welcome to another Monday with Angi! Do you scrapbook? I have never been a traditional scrapbooker (is there such a thing anymore?!), but I have always used pocket pages/page protectors. I love collecting ephemera: tickets, receipts, stories of the every day...anything that tells or represents the story.

Royal Sterling Embossing Enamel
I also love embossing powder. Seriously. It's my favorite, never want to be without, go-to supply item. You can add shine, texture, richness, color, etc. to a project with this simple powder that magically transforms with heat! And have you seen the Embossing Enamel powders in the Globecraft & Piccolo shop? They're fabulous!

Mossy Glen Embossing Enamel
I'm a list maker, note jotter, doodle in the notebook kind of girl, so I used supplies I have on hand to make a few simple 3x4 cards to throw in my purse to jot down the stories, quotes, things my kiddos say or whatever is on my mind. Eventually, the cards will be placed in our family album.

Aged White Embossing Enamel
Supplies Needed:
Globecraft & Piccolo Embossing Enamels in your favorite colors

Here are the Enamel Powders I used for these cards:

Aged White
Bahama Aqua
Deep Blue Sky
Mossy Glen
Poodle Skirt
Real Rust
Royal Sterling
Temple Stone
Vintage Copper
Enamel Powder Adhesive Fluid

white cardstock cut down to 3x4 (round corners, if you prefer)
Ranger Archival Ink
Misc. Stamps: words, 'washi', flags, etc. (I used various washi and word stamps.)
Heat Tool

Bahama Aqua Embossing Enamel
Ink up your stamp using the Adhesive Fluid, sprinkle on your powder and heat. Ink up your words/sentiment and stamp them on the card.

Real Rust Embossing Enamel

Temple Stone Embossing Enamel


Did you like the cards? Which one is your favorite? If you make a card or two, be sure to share it with us on the Globecraft & Piccolo Facebook page!


Sunday, March 9, 2014

Thinking of You


For my Globecraft Piccolo card today, I have used the new Stacey's Stacking Flowers set.  To color my flowers I used:

I just love that you can still see the detailing on the flowers after they have been colored or embossed.  And just take a look at how many flowers you get in the set.....


I used my Cheery Lynn Designs Lattice 2 die for the background.  I die cut it from card stock and then embossed it with Aged White Embossing Enamel. I just love the flecks of gold in this powder.  Be sure to look closer at the picture for the beauty of the enamels.


Next I die cut the middle size die from my Cheery Lynn Sentiment Tag 2 set out of card stock and colored it with Rose 3D Stamp Paint.  I stamped Thinking of You and then used the smallest die to cut it out.  I added a few gems to my flowers and I was all done.  Finished size is 4.25 x 5.5 inches. 

Be sure to check back each day for more inspiration from the design team.

Saturday, March 8, 2014

A Spring Scene. . .


I am longing for spring, and I thought if I made a spring scene, it might help me forget the fact that winter is still here in my part of Colorado - in fact, as I write this post it is snowing right now!  So, I offer this tiny scene as homage to spring, knowing it is right around the corner. 
 
I wouldn't mind being there right now!
I made this using one of Globecraft & Piccolo’s NEW French Oval Classic Bubble Frame kits – they are awesome size, bigger than the Bubble Ornaments, and can fit a 4” x 6” photograph inside.  Everything marked NEW can be seen HERE and is part of the Spring Release.

To make this cute little wall hanging, I used:

Here is the French Oval kit - you even get a wall hanger!

The first thing I did was make the background for the piece.  I used white cardstock and the Distress Paints, as well as all the blue Distress Markers (Broken China, Salty Ocean & Tumbled Glass).  I used the paints first, daubing them on my craft sheet and spritzing them with water.  I used a whole 8 ½” x 11” sheet of white cardstock to soak up the color as I never know what part of the paper is going to work for what I want, and I can always use the leftover paper.  Once the paints had dried, I scribbled the blue markers on the sheet, using the brush tip, and used them just like the paint (I don’t have these colors in the paint, yet, and found that the markers work almost as well).  Once I felt I had a good background, I set the paper aside to dry thoroughly.

Knowing that the 3D Enamel Gel needs to set, I used the Rose Pearl 3D Enamel Gel straight from the bottle to “paint” my two flowers.  I wish I could show you how shimmery the gel is, the pictures do not do it justice! Sorry, I thought I took a picture of the flowers! I put one of the bubbles from a Bubble Ornament I have over the flowers so no cat hair (or curious cats) could get in the gel.  I let them set overnight.

Then I set about embossing my pieces.  First, I cut the sun in half, after measuring it to fit where I wanted it to in the scene.  I wanted the sun to be brilliant, so I used the Vintage Gold Embossing Enamel and I mixed in a no-name iridescent-like powder I had in a small baggie (I have had this powder for years and I have no idea who makes it).  I think it came out wonderful! 
I use a small scoop when mixing my powder because that way I have more control over the amount of powder and I don’t end up wasting it by mixing up a lot that I can’t reuse. I mix my powders on a coffee filter because the powder barely sticks.  I embossed the sun 2 or 3 times, using the Embossing Fluid between each coat of powder.  Here is the scoop I used in case you want to copy my recipes.


I then set about the birds.  I had wanted them to really stick out and be colorful so I mixed Ruby Red Slippers with Girls Night Out Embossing Enamel,  one scoop of each.  Again, I am very pleased with my results, they certainly are pretty!  I embossed the birds 2 or 3 times as well, following each coat of powder with more Embossing Fluid.  


The heart is straight up Cranberry Wine and was embossed a few times as well.


Here are all the accents embossed and ready to go!
The branch was cut from a file I found in the Silhouette Store, called Branch 
& Flowers, and I cut it out of kraft cardstock.  I used a leaf punch, with a light green cardstock, to punch out my leaves and I trimmed most of the leaves off and only used the top one.
The leaf punch I used

Once all the prep work was done, I got to put my scene together.  I first traced the back piece of the kit over the portion of the paper that I made earlier, picking out what part I wanted to use for my sky. You don’t have to be perfect cutting it out because the frame will cover the paper. Then I placed everything were I wanted it, left it for a bit, came back, rearranged it, asked opinions, rearranged it again and ended up moving the sun from one side to the other, and then glued everything down.  While I waited for the glue to dry, I painted the two parts of the frame with very light coat of white gesso and let them dry.  While they were drying, I got ready to paint the wider frame with my craft sheet and the Distress Paints.
The frames, painted.
I used the same water spritz/smoosh technique on the wide frame, and the gesso made the paint creamier looking.  For the decorative frame, I used Distress Markers in Dusty Concord and Shaded Lilac to give it a very faint tinge of purple.  The photos didn’t pick up the subtle color variations but it is there.  I glued the frame and the bubble together, and then glued that to the scene, finishing with the decorative frame.  
Almost done!
 
Showing the dimension

 
And another view of the final result
I had a blast using this kit and you will be seeing more of these in my art! 
Thank you for stopping by & I certainly hope spring has visited you! 

Frame Card- Guest Designer Sandy Hentzel

Hi Friends!  Sandy here, I am March's Guest Designer and over the moon to be creating and stamping with you.  

A little about me...I live in "sunny" Ohio, married and a working (full-time) mom of three. I started scrapbooking 10 years ago with card thrown in the mix about 3 years ago. Since then, I have been hooked with stamping. It is my stress reliever after I get the kiddos to bed. I love the sense of accomplishment when I look at the finished product and making gifts for others.  You can find me at my craft desk almost daily and love, love, love learning new techniques and tutorials. That's about it. I am a simple crafter that likes to have fun with my family, friends and scrapbook crafters everywhere.You can also find me at The Scrapbook Blessings Club which is my tutorial blog along with my personal blog at A Working Mom's Joy.

 I am looking forward to inspiring you with projects, showcasing the wonderful stamps from SweetStamps.
----------------------------------------------------------------------------------------------------------------------------------
Have you checkout this weeks SweetStamps challenge... SPRING FLOWERS?  I don't know about you but I am ready for warmer temperatures, birds chirping and flowers blooming! 

I decided to create this project using the Frame Card Fold...

 You can find the tutorial I used to make this cute frame HERE. It is easy to follow, and  I think it is a great way to showcase this pretty stamp. 

And don't forget the inside of the card too! I like to adhere a strip of the pattern paper that I used on the front inside the card to coordinate.

Stamps used for this card are:
Thanks for stopping by and have a blessed day!


Friday, March 7, 2014

A lovely wedding gift.

Good Morning my friends. Teresa here again with a thoughtful and heartfelt gift idea. I have friends getting married and I made a very similar one of these for them. We will be sending all of our posted samples with Stacey, so while I was making the real gift, I made two. 


Let's go shopping.

- Mini Key Charms 
- frame from the Flourishes that I made the earrings from.
- medium heart from the Key To My Heart set
- Mermaid Tears Enamel
- Ruby Red Slippers Enamel
- Victorian Bronze Enamel 
- Vintage Black Enamel 
- Enamel Adhesive
- Matte Glastique

Additional Materials
- frame - no glass - and I used the cardboard spacer as my backer.
- a neutral solid matte board - mine is covered in muslin.
- vintage buttons
- assorted pearls
- a heavy duty glue (I used max tack by Aleene)
- vintage paper for backing
- old bottle
- string.


My cardboard backing was going to show and I was using a silver toned frame. So I need to fill that space. I marked the area that was going to show and embossed it with the Mermaid Tears Powder.


Look at that colored area in the picture below --- I am so in love with the Mermaid Tears colors - such a versatile coloration.


I wanted a vintage look to the entire piece - so I used the Victorian Bronze on the frame piece and the heat flash technique .


I love the way the frame turned out ----

I then found traditional Christian marriage vows in a vintage worship book and cut then to reflect some of the words and to fit the frame.

I glued this in place with Glastique. (The glastique does NOT wrinkle the paper at all and I do a LOT of paper craft so I use it often as a glue.)

Then I glued it off set to the top and center of my mat board using the Max Tack glue.


 Now for the little bottle -

I embossed the tiny key charm with the vintage black enamel on both sides.  (I tried several until I found one that slipped inside the bottle)

Using a vintage Mother of Pearl shank button - I hung the key with a pearl (symbolizing God in the marriage). I adjusted the spacing on the key until it was suspended like I wanted in the bottle.


I also embossed the heart lock with the Ruby Red Slippers enamel - I glued it centered to the bottom of the mat board with two mother of pearl buttons as well. (my friends will be using theirs as a ring "pillow" and these buttons stick out far enough to hold the rings.)


Now to assemble the bottle -

I added more pearls to the bottle - two large ones for the couple and five smaller ones for their combined children.

Drop the hanging key in the bottle and glue the button to the top securely.


I attached the bottle by tying it off to the mat board at the top and resting it on the frame and gluing it at the bottom with the Max Tack.

I am thrilled with how this finished.


This would also be a great way to display a lock of a baby's hair. 

Or sand from a breach vacation. 

How about a fluffy white feather?

My sister has a bottle with her shell casing from her law enforcement post certification. 

Lots of things you could use this for. 

Have a wonderful Thursday.